Plywood is not something most people put on screen. However, Jen Dalley and Thomas Bath, both architects in Lines Studio, felt differently when they watched it on the floor of a Hawaiian shore store. Instantly falling in love with its hot and patinated beauty, they decided to try it in their property.
The ideal type of timber and ply can produce plywood an extremely practical flooring option. While Dalley and Bath didn’t want to install it in a high-traffic place, it made for an affordable, clean and warm floor because of their master bedroom.
Project: Plywood flooring to get a bedroom
Location: Ely, Nevada
Size: 160 square feet
Budget: $700; about $4.35 per square foot
Jen Dalley ||||||||||||||
Though utilizing plywood cut down cost and time, Dalley and Bath still had to come up with their very own design and installation methods. “There was not a plywood floor aisle in the lumber yard, and even the clerk in the specialty wood shop gave us an eye roll when we explained what we were doing,” Bath says.
The few forged ahead anyway. Their creative application resulted in a seamless timber veneer bedroom floor.
Jen Dalley ||||||||||||||
Materials used:
6 sheets of five-ply 1/2-inch domestic birch plywood to the flooring ($60 per sheet)3 sheets of three-ply 3/4-inch Baltic birch plywood to the trimming ($90 per sheet) 150 square feet of 1/8-inch acoustical foam underlay ($20)Handful of fasteners — 2 1/2-inch stone screws ($5)Wood putty ($5)1 gallon of floor-grade polyurethane ($40)
Before Photo
Jen Dalley ||||||||||||||
After pulling the bedroom layout, Bath and Dalley installed the plywood . Calculating the required full and semi gloss sheets was easier and created the uniform look they wanted.
They prepped the present floor. With the help of a friend and builder, the couple removed the present carpet and pried up the tack strips, showing a layer of vinyl tile. They coated the tile with the acoustical light foam underlay, pushing it 4 inches up the wall to account for the trimming.
Before Photo
Jen Dalley ||||||||||||||
Following the plywood sheets were cut into a predetermined size, the couple put them directly in addition to the foam underlayment. With 2 1/2-inch countersunk gold screws, they then drilled each panel securely into the floor beneath. Each drill hole has been covered with wood putty and sanded smooth.
Tip: Put dimes in between the edges of the plywood sheets when installing them (as seen in this photograph ). This will keep the spacing constant and allow for slight movement.
Jen Dalley ||||||||||||||
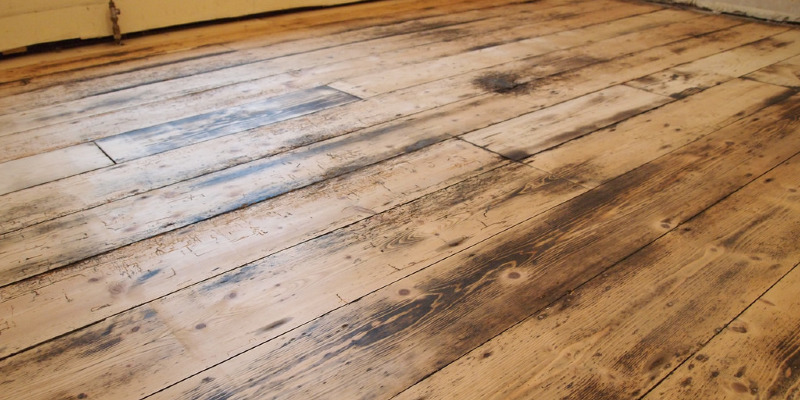
Without a durable finish, plywood veneer is more vulnerable to damage than a conventional hardwood or composite floor. The couple of added three coats of floor-grade foam into the plywood’s surface utilizing a lamb’s wool surface applicator.
Between each coating, they gently sanded the floor by hand, wiping dust away with a damp towel. They wanted the joints to stay exposed, so that they used a utility knife to keep them tidy.
Jen Dalley ||||||||||||||
While the few intends to reapply the floor finish every couple of years to maintain its existing look, they might also allow it to patinate and wear over time.
Jen Dalley ||||||||||||||
Plywood may not be for everybody, but the veneer surface looks amazing in this casual and bright area.
See more photos of plywood floors
Related Posts