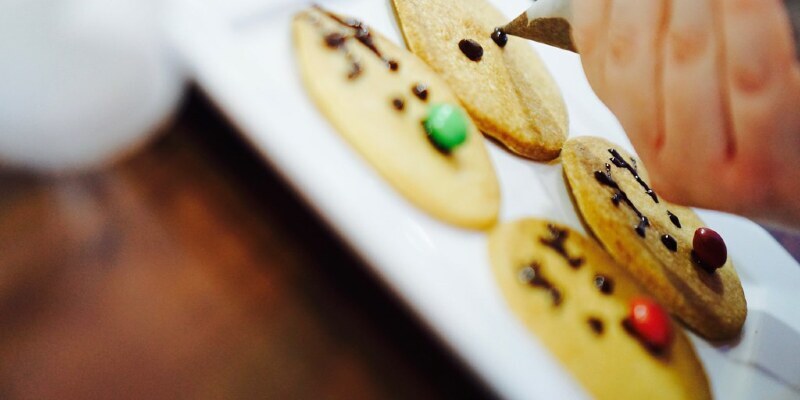
I hate watching home remodels that lead to destroyed architectural elements that could have been either reused or donated. Old doors are a fantastic example. Here is the way to turn a pair of weather-beaten cast-offs into a handsome headboard.
If you are not remodeling, then fantastic places for finding older doors (besides the curbs where people put out trash) include consignment and salvage shops.
Chris Hill
The doors shown here initially measured 34 inches wide and 80 inches high and had no hardware installed. The finished headboard is 68 inches wide, 66 inches high and two1/4 inches deep; it fits up to some queen-size mattress.
Materials:
(3) 12-inch fixing plates(1) box of 12 by 11/4-inch wood screws(3) 6-inch black gate hinges(two) black gate handles (optional)Tools:
Circular sawDrillA few clampsYou can lean the constructed headboard against the wall (using the base resting on the ground), or you can attach it to the wall with two interlocking boards known as a French cleat.
To create a French cleat, you’ll need:
Table sawLevel1-by-6-by-6 boardA couple 1⅝-inch wood screwsSome 31/2-inch wood screwsTo prep the doors:
Step 66 inches from top of every door and mark a line across the entire width of the door. Check for and remove any hardware at the path of this line. To help minimize tear-outs and jagged edges when cutting, employ masking or blue painter’s tape into the cut point. Mark the line again onto the tape. Cut the doors at this period with a circular saw using a straightedge guide.
Twist the Mending Plates
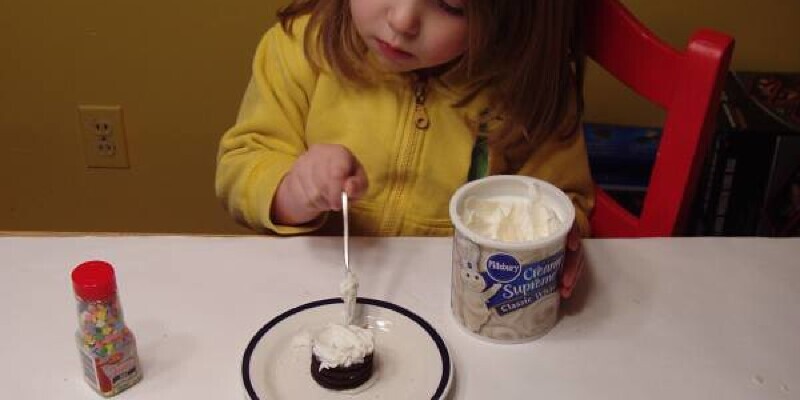
Position the very best (uncut) ends of the doors so they line up perfectly and clamp the doors together. Position a 12-inch fixing plate no more than two inches from the base (cut) finish and centered across where both doors meet.
Chris Hill
Push the #12 by 11/4-inch wood screws through both interior screw holes of the fixing plate, then drive screws through the remaining holes.
Chris Hill
Attach the remaining repairing plates at the top and centre of the doors.
Chris Hill
Attach the Decorative Hinges and Handles
Flip over the assembly. Clamp the doors in place and place a 6-inch black bent hinge near a finish, making sure to place the screw holes so they are not in accord with the screws of their fixing plates. Mark the position of the hinge and screw holes. Drill pilot holes for the screws.
Mark the positions of 2 gate hinges along with their screw holes , one near the other end and one approximately centered. Drill pilot holes for the screws.
Chris Hill
Twist the gate hinges using the included screws.
If the doors you selected have handles or knobs installed and you want to maintain them you can skip the next step.
Chris Hill
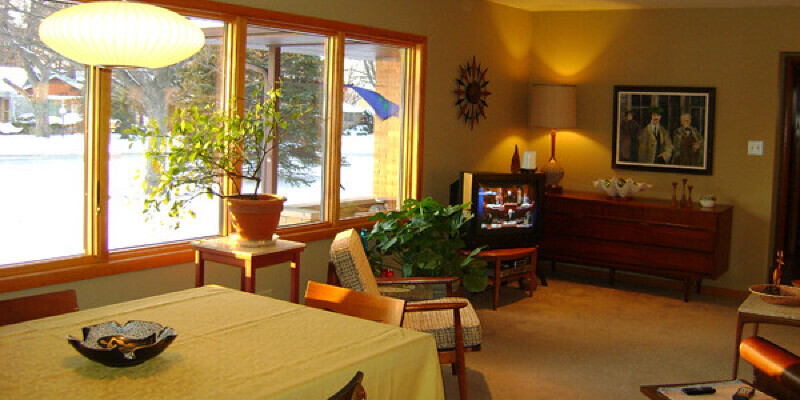
Position the gate handles where desirable on the outside stiles of both doors. With this project the grips are 31 inches from the top finish. Mark the position of the screw holes, drill pilot holes and attach as advocated by the manufacturer, in this instance by means of a socket wrench.
Chris Hill
If You’re Attaching the Headboard into the Wall
A French cleatis essentially two interlocking boards which were cut along their length at 45 degrees. Many cabinets are connected to walls via this procedure, as it is quite hardy and will support a good deal of weight.
Start by marking a centerline across the end of the 1-by-6 board. Mark the centre point of this line and draw a 45-degree angle which bisects this centre point.
Place the saw blade onto your table saw at 45 degrees, then place the weapon in your table saw so that the 45-degree mark lines up with the saw blade. Rip the 1-by-6 into two extended pieces, making two interlocking boards — one for the headboard cleat, the other for the wall socket. Cut them to 60 inches in length.
Chris Hill
Position the headboard cleat flush either together with all the top mending plate with the top railing of the doors, and then attach it with 1⅝-inch screws. Make certain the long stage of the trim side is positioned apart from the salvaged door.
Enlist someone to help you choose the meeting to the desired location. (If you are working solo, then you’re able to take it away and move it one door at one time. Reassembly goes quickly once you’ve done all of the cuts and drill holes)
Install the Headboard
Position the headboard meeting at the desired location and flush against the wall into which you plan to attach it. Place the wall cleat flush beneath and contrary to the headboard cleat. The cleats must fit closely against each other. Mark the position of the wall cleat.
Eliminate the meeting and then use a level to square the wall cleat. Twist the cleat into the studs in the wall (be sure the long stage of the cleat is away from the wall) using 31/2-inch screws.
Hang the headboard on the cleat. Then return and enjoy the appearance of your new headboard!
More: How to Find a Stud With a Magnet
Related Posts